
Half Moon Pose
Ardha Chandrasana
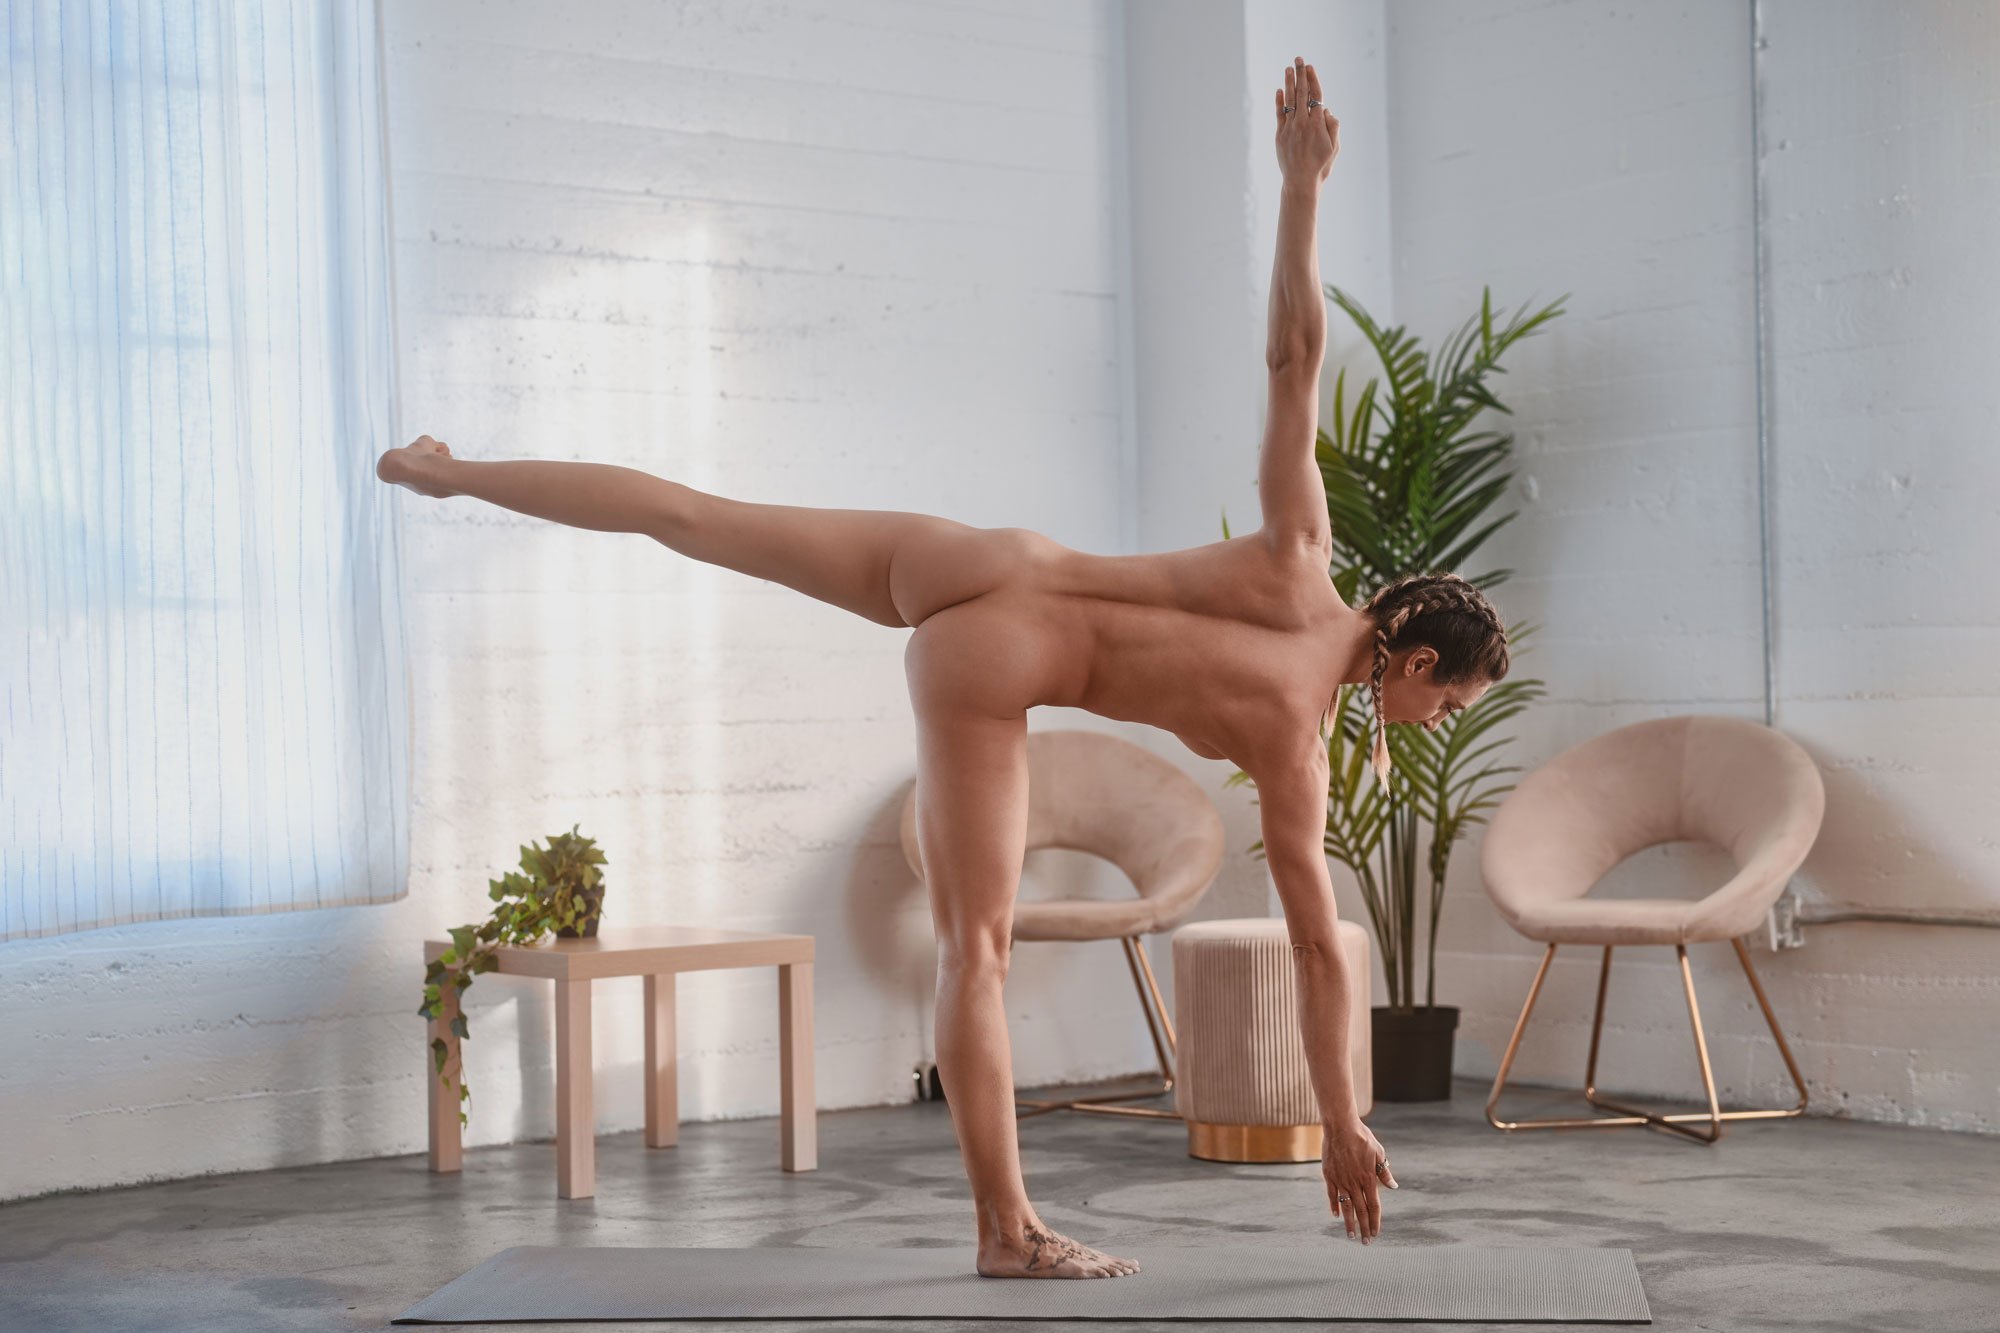
Half Moon Pose, or Ardha Chandrasana, is a captivating yoga posture that embodies grace and balance. This pose not only helps to strengthen the legs, core, and improve overall body coordination, but it also cultivates a sense of poise and stability, both on and off the mat.
Common Name: Half Moon Pose
Sanskrit Name: Ardha Chandrasana (ar-dha chahn-DRAHS-anna)
Level: Intermediate
Target Areas: Hamstrings, Calves, Core, Glutes, Thighs
Half Moon Pose, or Ardha Chandrasana, is a beautiful and challenging yoga posture that combines strength, balance, and flexibility. Practicing this pose can offer numerous benefits, including strengthening the legs, core, and ankles, while also improving coordination and focus. Additionally, Half Moon Pose can enhance spinal alignment, stretch the hamstrings and hips, and promote a sense of grounding and stability. This pose is inspired by the image of the half-moon, reflecting the harmony and equilibrium found in nature and within ourselves.
Half Moon Pose Steps

Sugarcane Pose is a slightly more difficult Half Moon Pose variation
Step 1
Start in Tadasana, Mountain pose.
Step 2
Take a big step back with your left foot, and pivot the toes slightly forward at a 45 degree angle. The stance of the feet is the same as Trikonasana, which you can also start this pose with.
Step 3
Extend the arms out to the sides at shoulder height, palms facing down. Start to hinge in the hips toward the top of your mat (the direction of the front leg), keeping the arms parallel with the ground. Hips are facing the long side of your mat.
Step 4
Reach forward until you can't go any further, and bring the front palm down onto the ground, ankle, shin, or a block (Trikonasana). Extend the left arm up towards the sky.
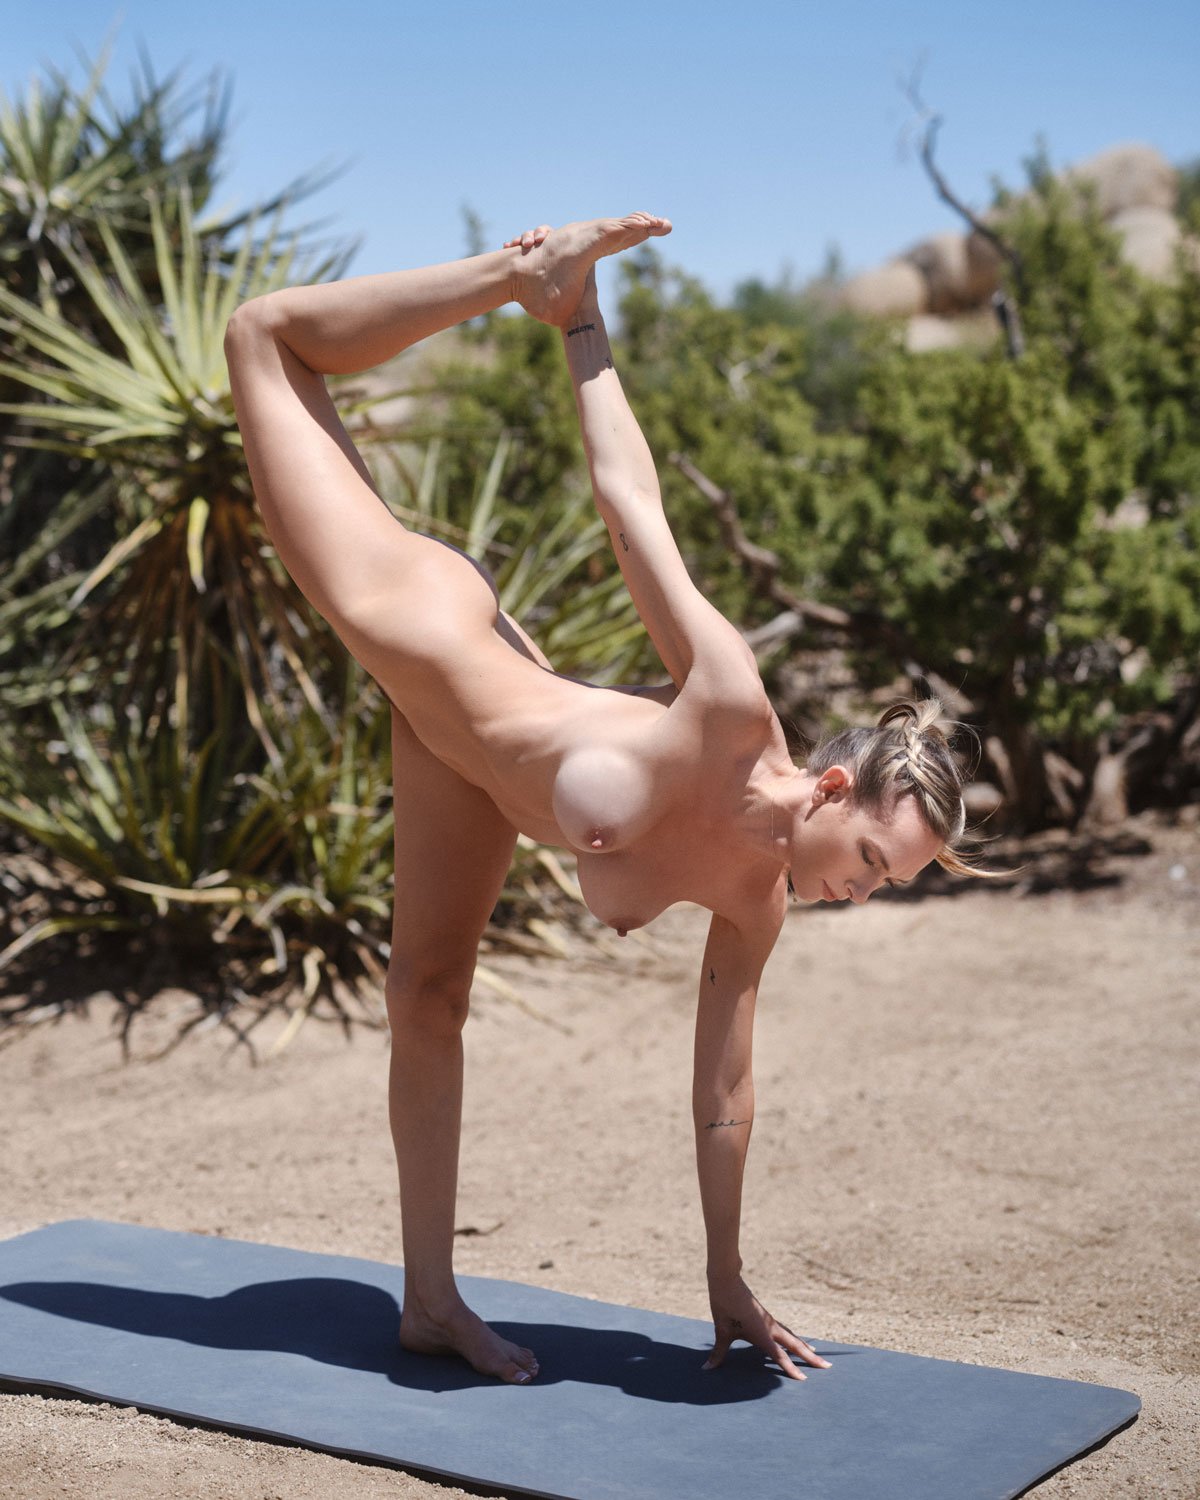
Sugarcane Pose is a slightly more difficult Half Moon Pose variation
Step 5
Bring the left hand to the left hip, bend the right knee, and start to shift the weight forward into the right foot. Find a static focus point a few inches in front of your right foot and start to hover the back leg off the mat.
Step 6
Bring the palm to the ground or a block outside the right foot. When you feel balanced, start to straighten out the right leg, lifting the back leg until it is parallel with the mat (or as high as your flexibility allows). Keep the back foot flexed.
Step 7
Engage the core and the standing leg as you reach the crown and left heel in opposite directions, creating a long, straight spine. If you feel balanced, start to reach the left arm up towards the sky, spreading the fingertips.
Step 8
If you feel balanced here, you can try to look upward towards your left hand. Keep the gaze straight ahead or down if you feel strain in your neck, or if you feel unbalanced.
Step 9
To take this pose one step further, you can even hover the right hand a few inches off the mat, standing completely on your right foot.
Modifications
If you don’t feel balanced in this pose, you can use the back of a chair or wall for support. Practice letting go of the chair or wall for short periods until you feel more balanced.
If you feel uncomfortable in the neck, keep the gaze down toward the mat.
If you can’t reach the floor, place a block underneath the palm.
Benefits
• Stretches the hamstrings, calves, and hips.
•Strengthens the legs, core, and back.
Cautions
• Vertigo or ear infection
• Back injury
• Neck injury


